Introduction
Geo targeting allows you to redirect users to different destinations based on their location. With 9to.in, you can create smart links that automatically send users to the most relevant page depending on their country or region.
This is especially useful for global campaigns, eCommerce stores, and region-specific offers.
What is Geo Targeting?
Geo targeting is a feature that detects a user’s location and redirects them to a specific URL.
For example:
Users from USA → US website
Users from India → India website
Users from Europe → EU landing page
This ensures users see content relevant to their region.
Step-by-Step: Set Up Geo Targeting
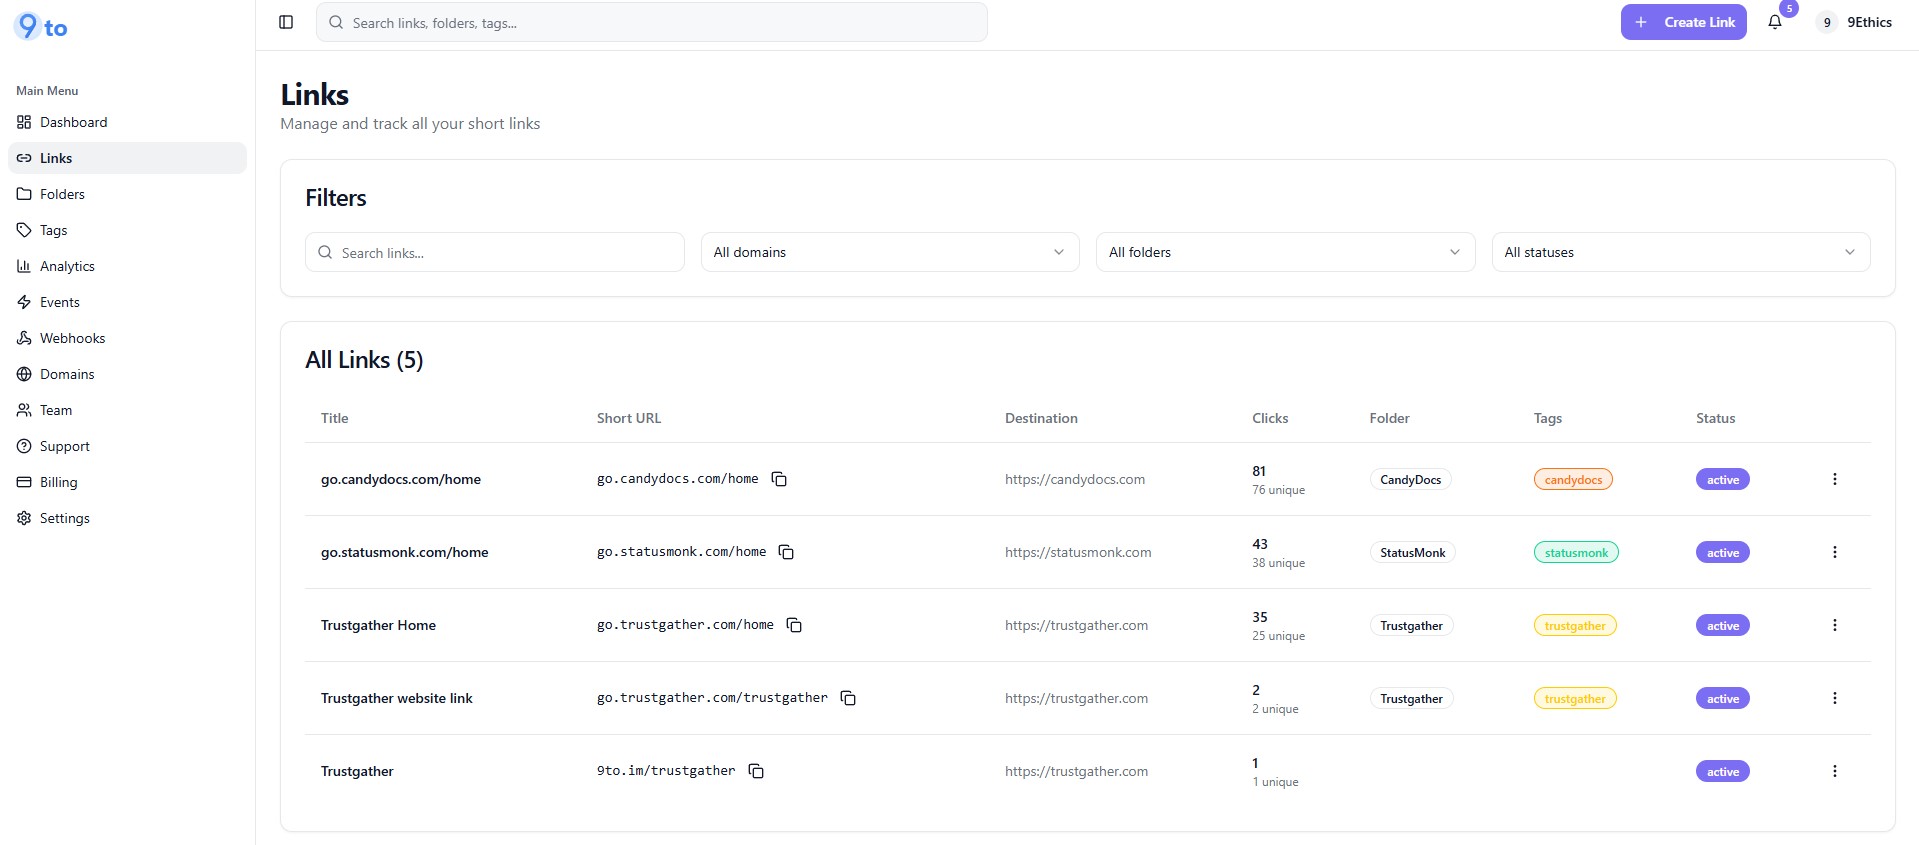
Step 1: Open Create Link
Go to Links dashboard
Click + Create Link
Step 2: Enter Basic Link Details
In the Basic tab:
Add your Destination URL (default fallback link)
Select your Domain
Set your Short Slug
Step 3: Go to Targeting Tab
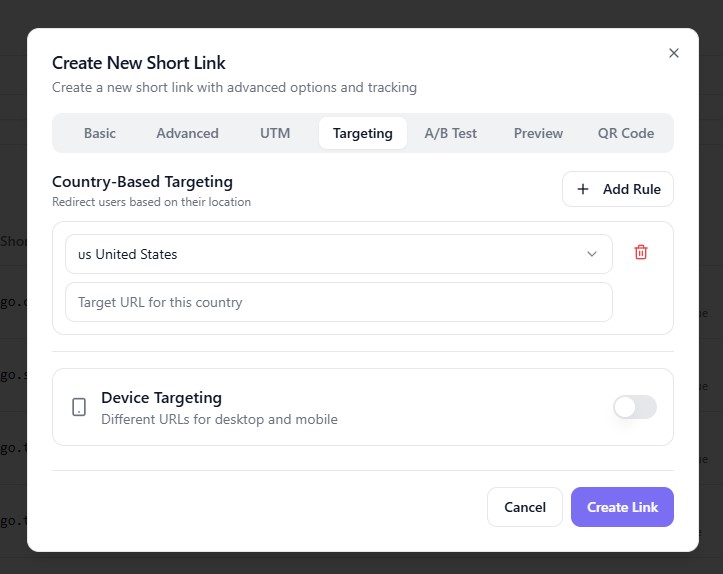
Click on:
👉 Targeting
This is where you can configure location-based routing.
Step 4: Add Country-Based Rule
Under Country-Based Targeting:
👉 Click + Add Rule
Then:
Select a Country (e.g., United States)
Enter the Target URL for that country
Example:
Country: United States
URL:
https://example.com/us
Step 5: Add Multiple Countries (Optional)
You can add multiple rules for different regions:
India →
https://example.com/inUK →
https://example.com/ukCanada →
https://example.com/ca
👉 Repeat the process using Add Rule
Step 6: Set Default Destination
Your main destination URL (in Basic tab) will act as the fallback if:
No country rule matches
User location cannot be detected
Step 7: (Optional) Enable Device Targeting
You can also enable:
👉 Device Targeting
Redirect mobile users to a mobile-specific page
Redirect desktop users to a desktop version
Step 8: Create the Link
Click:
👉 Create Link
Your geo-targeted smart link is now ready.
How Geo Targeting Works
When someone clicks your link:
9to detects the user’s location
Matches it with your rules
Redirects to the correct URL instantly
All of this happens in milliseconds.
Where to Use Geo Targeting
Geo targeting is powerful for:
🌍 Global eCommerce stores
📢 International ad campaigns
🌐 Multi-language websites
🏢 Region-specific services
🎯 Local promotions
Best Practices
✅ Always set a fallback URL
✅ Use localized landing pages
✅ Combine with UTM tracking
✅ Test links from different locations
✅ Keep URLs region-specific and relevant
Common Mistakes to Avoid
❌ Not setting a default fallback URL
❌ Redirecting all users to the same page
❌ Forgetting to test geo rules
❌ Using incorrect country targeting
Pro Tips
Combine geo targeting with:
📊 Analytics to track region performance
🧪 A/B testing for different markets
📱 Device targeting for better UX
Conclusion
Geo targeting in 9to.in helps you deliver the right content to the right audience based on their location. This leads to better engagement, higher conversions, and improved user experience.
Start using geo targeting to make your links smarter and more effective 🚀